
So far, we have looked at how to prepare for your shoot and how to get your footage. In this article we will look at how you can edit your work to make an effective video. We’ll also look at adding text, music, and B-roll footage to lift your production values.
Our first tip? Don’t panic! Video editing is not as complex as it appears. If you have never edited a video before, there are some simple tips and techniques that will help you.
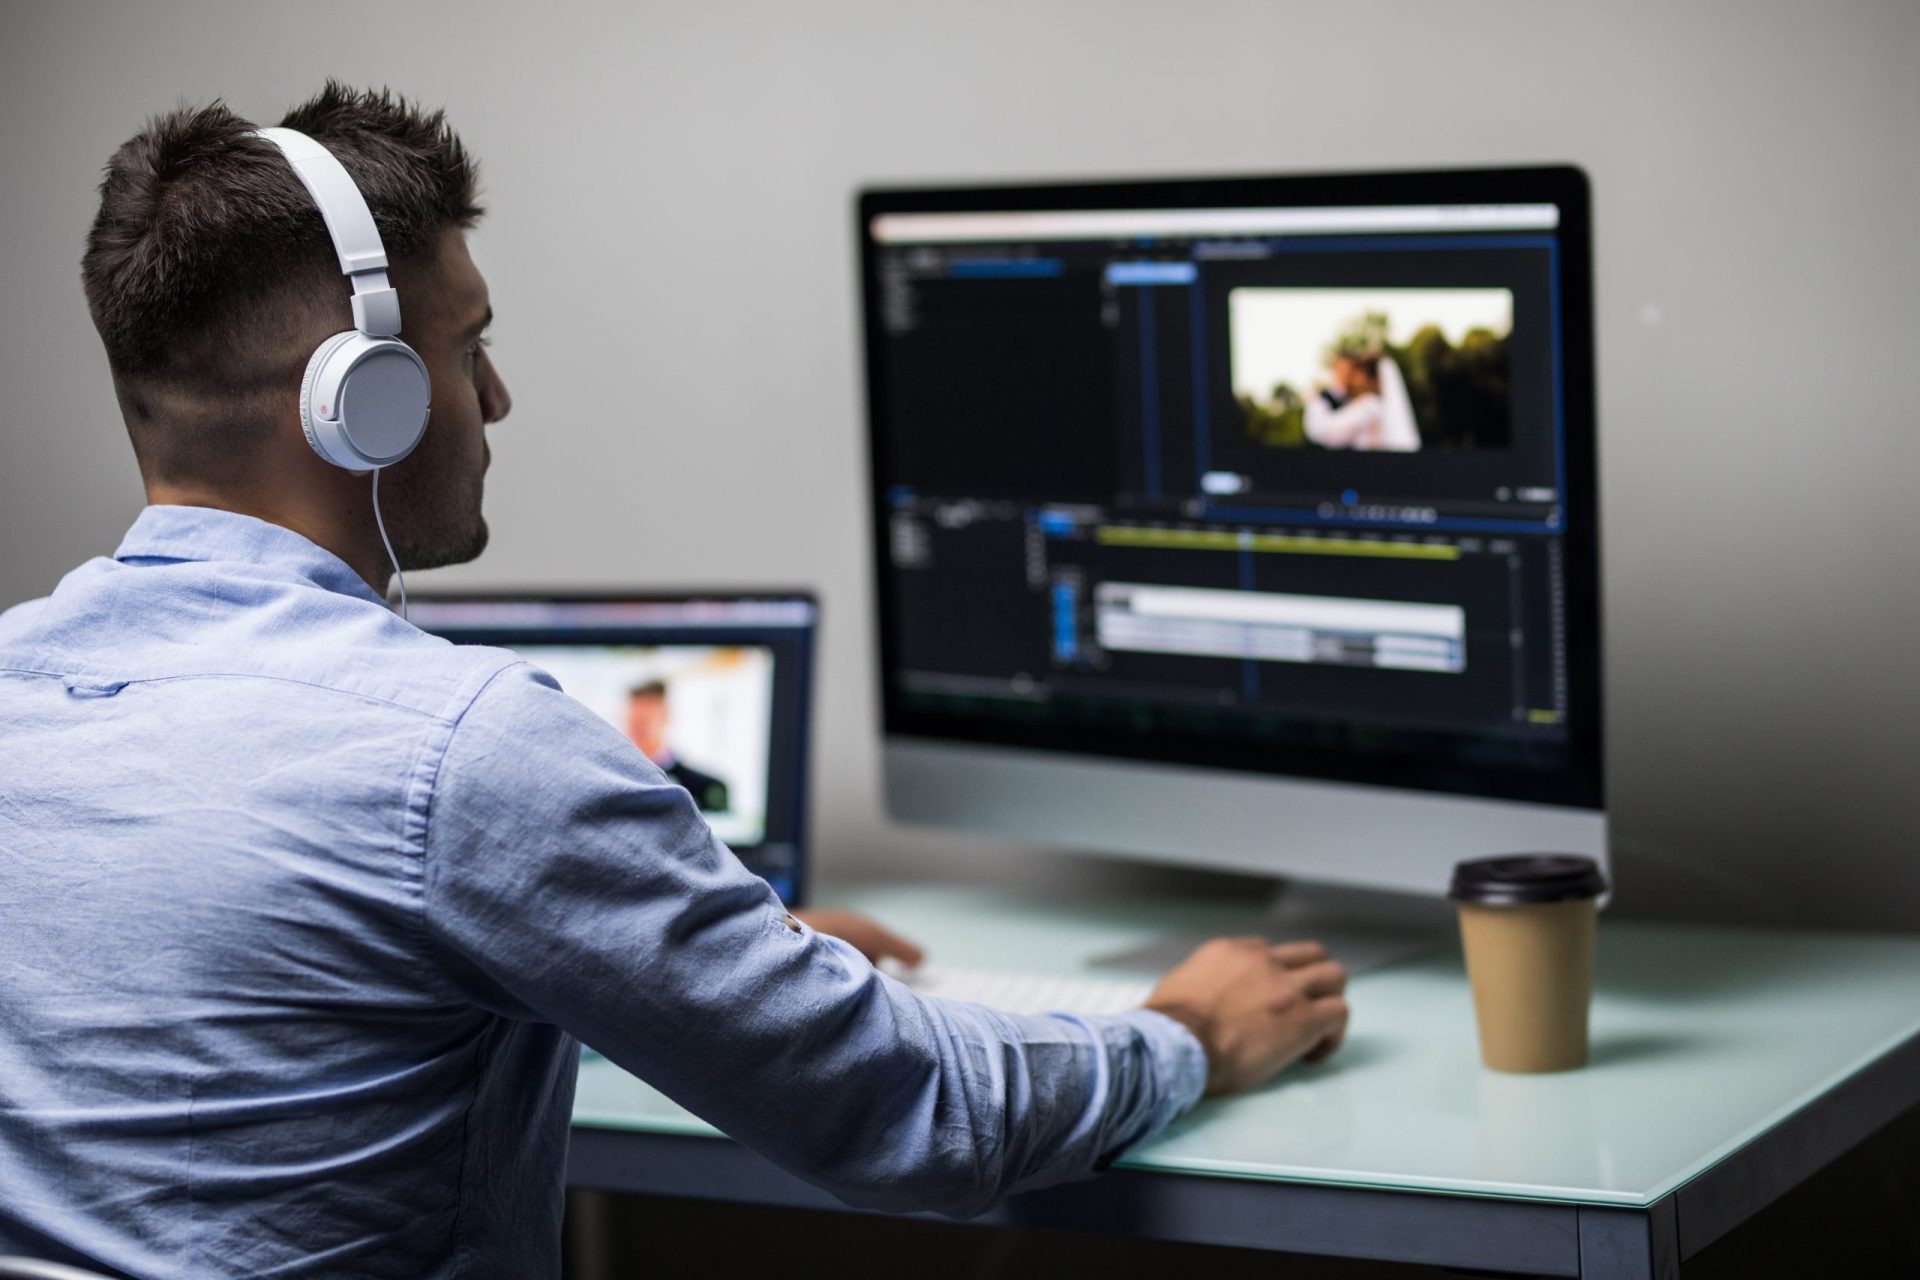
Choosing your editing software
When choosing your editing software, it’s worth reflecting on your experience, capability, and the number of videos you will want to create. If you are a light user, producing basic videos, you might want to choose software that is simple to use.
You should also think about what devices you have available, as some editing tools are specific to desktops, tablets and mobiles.
Desktop applications typically have more editing power than mobile apps. They are designed for producing high-quality longer-form content to upload to YouTube or your website. Adobe Spark, Movie Maker (for Windows) and iMovie (for Mac) are all free and offer basic, easy-to-use video editing functions.
If you’re going to pay for your editing software, it’s worth downloading free trials of a few different programmes. Trying them out first will give you a better idea of whether they meet your requirements. In some cases, powerful software such as DaVinci Resolve offer a limited feature set to free users. Alternatively, open-source products such as OpenShot offer more facilities, but often lack instructions and require more technical knowledge.
If you wish to work on phones or tablets, app-based software such as KineMaster is often sufficiently powerful. It can be particularly useful if you want to capture and edit videos on-the-go for social media channels.
The selection process: reviewing your footage
Knowing what footage you have available is the key to editing.
In the first article of this series, we mentioned how it may be useful to create a storyboard before you begin recording. When filming, this acts as a guide to what you need to capture. When editing, it can be used to index and lay out the captured footage.
When using interview footage, if the quality of the image of the ‘talking head’ is distracting, don’t worry. The audio from the clip can be used with ‘b-roll’ footage to let your interviewee continue to share their story.
Top Tip! If there are any clips that you are not incorporating into your final cut, don't delete them. They may come in handy for a future video or promotion.
Once you have decided on the order of your clips, you can start using the software to organise them into the order you wish them to appear on screen.
Enhance your video with text, music and B-roll
Once you’re happy with the sequence of your main A-roll clips, it’s time to start adding the features that will pull everything together into the finished product. These features can include text, music and B-roll:
B-roll and stock video
B-roll can provide context. It’s a great way to illustrate what somebody is talking about in your video.
For example, whilst an interviewee is describing a placement you could include footage of participants arriving in a new country or a meeting between partners. By cutting to those shots, the interviewee will act as a voiceover.
If you don’t have any original B-roll, there are sites that provide royalty free footage for anyone to use (often in exchange for a credit within the video).
As long as it’s relevant, even though it is not showing your project’s work, stock B-roll still helps to break up your footage, keeping the viewer engaged.
Using text on videos
Text is great for adding context to your video and can be used in many different ways. Here are a few suggestions and examples:
- Intros: Introduce your video through text to give the viewer an idea of what they can expect and why they should continue watching.
- Introduce the interviewees: Use text to include the names, occupations and any other relevant information about the people on screen.
- Explain what the viewer is seeing: Text can be a useful alternative to a voiceover to explain what the viewer can see on screen. The footage can show the activities undertaken, while the text can explain them.
- Subtitles: Adding subtitles not only ensures viewers know exactly what interviewees are saying, they are also great for accessibility and encourage wider reach. Subtitles can also be read on social media sites when audio is muted.
- Calls to action: Near the end of your video, use text to enhance your ‘Call to action.’ This could be to follow your organisation on social media, go to your website or watch another video.
Using music in your production
No matter what style of video you are creating, music can help to set the tone and thread the story together. Luckily, there is a range of free stock music sites out there to use.
YouTube itself offers an audio library where you can download stock music for free, so be sure to make use of this tool if you have a YouTube channel.
Top Tip! It’s important that you credit stock music when asked to by music providers. This can be done by adding text to the video, mentioning them when you post your video on social media, or including the information in the video description.
Add your branding
Putting your organisation’s unique stamp on the video is great for brand awareness and gives the video authenticity.
Tell the world about your new video
Happy with your finished video? Time to upload it to YouTube or Vimeo, add it to your website and share it on social media! This step-by-step guide on how to upload your video to YouTube should help you with the first step.
Although your video is online and can be watched by anyone, promoting it directly to an audience showcases your achievements to the right people and spreads your story even further:
- Social media: Let your followers know that you have a brand-new video by posting across Facebook, Twitter and Instagram. And don’t forget to tag the Turing Scheme too!
- Website: If your organisation has its own website, why not write a short blog post or news item and embed your video within the text?
- Events: Look out for opportunities to incorporate your video during an event. Whether it can be shown as part of your presentation or displayed on a tablet at your exhibition stand, presenting your organisation’s Turing Scheme activities through video is a great way to catch the attention of your audience.
Now that you have edited and uploaded your first video, it’s time to start thinking about different video style to vary your content! Take a look at our video diary advice in the next instalment of our video guide.