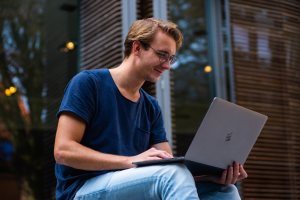
Are you ready to start filming? Read our tips and advice to make sure you get the most out of your recording.
Not sure what to do? Do not just press record!
Filming is easier once you know what you want to capture. A guide to planning your production can be found in the first blog post in our video guide series, which takes you through what to consider before you start filming.
To recap: it is important to define your aims and identify what equipment you will need to take with you to achieve it.
If you know what will happen and at what time, ensure you are well positioned for each event. For less predictable shoots, consider what you would like your final product to look and sound like.
With your set-up ready, it is time to start filming!
Contrast your footage
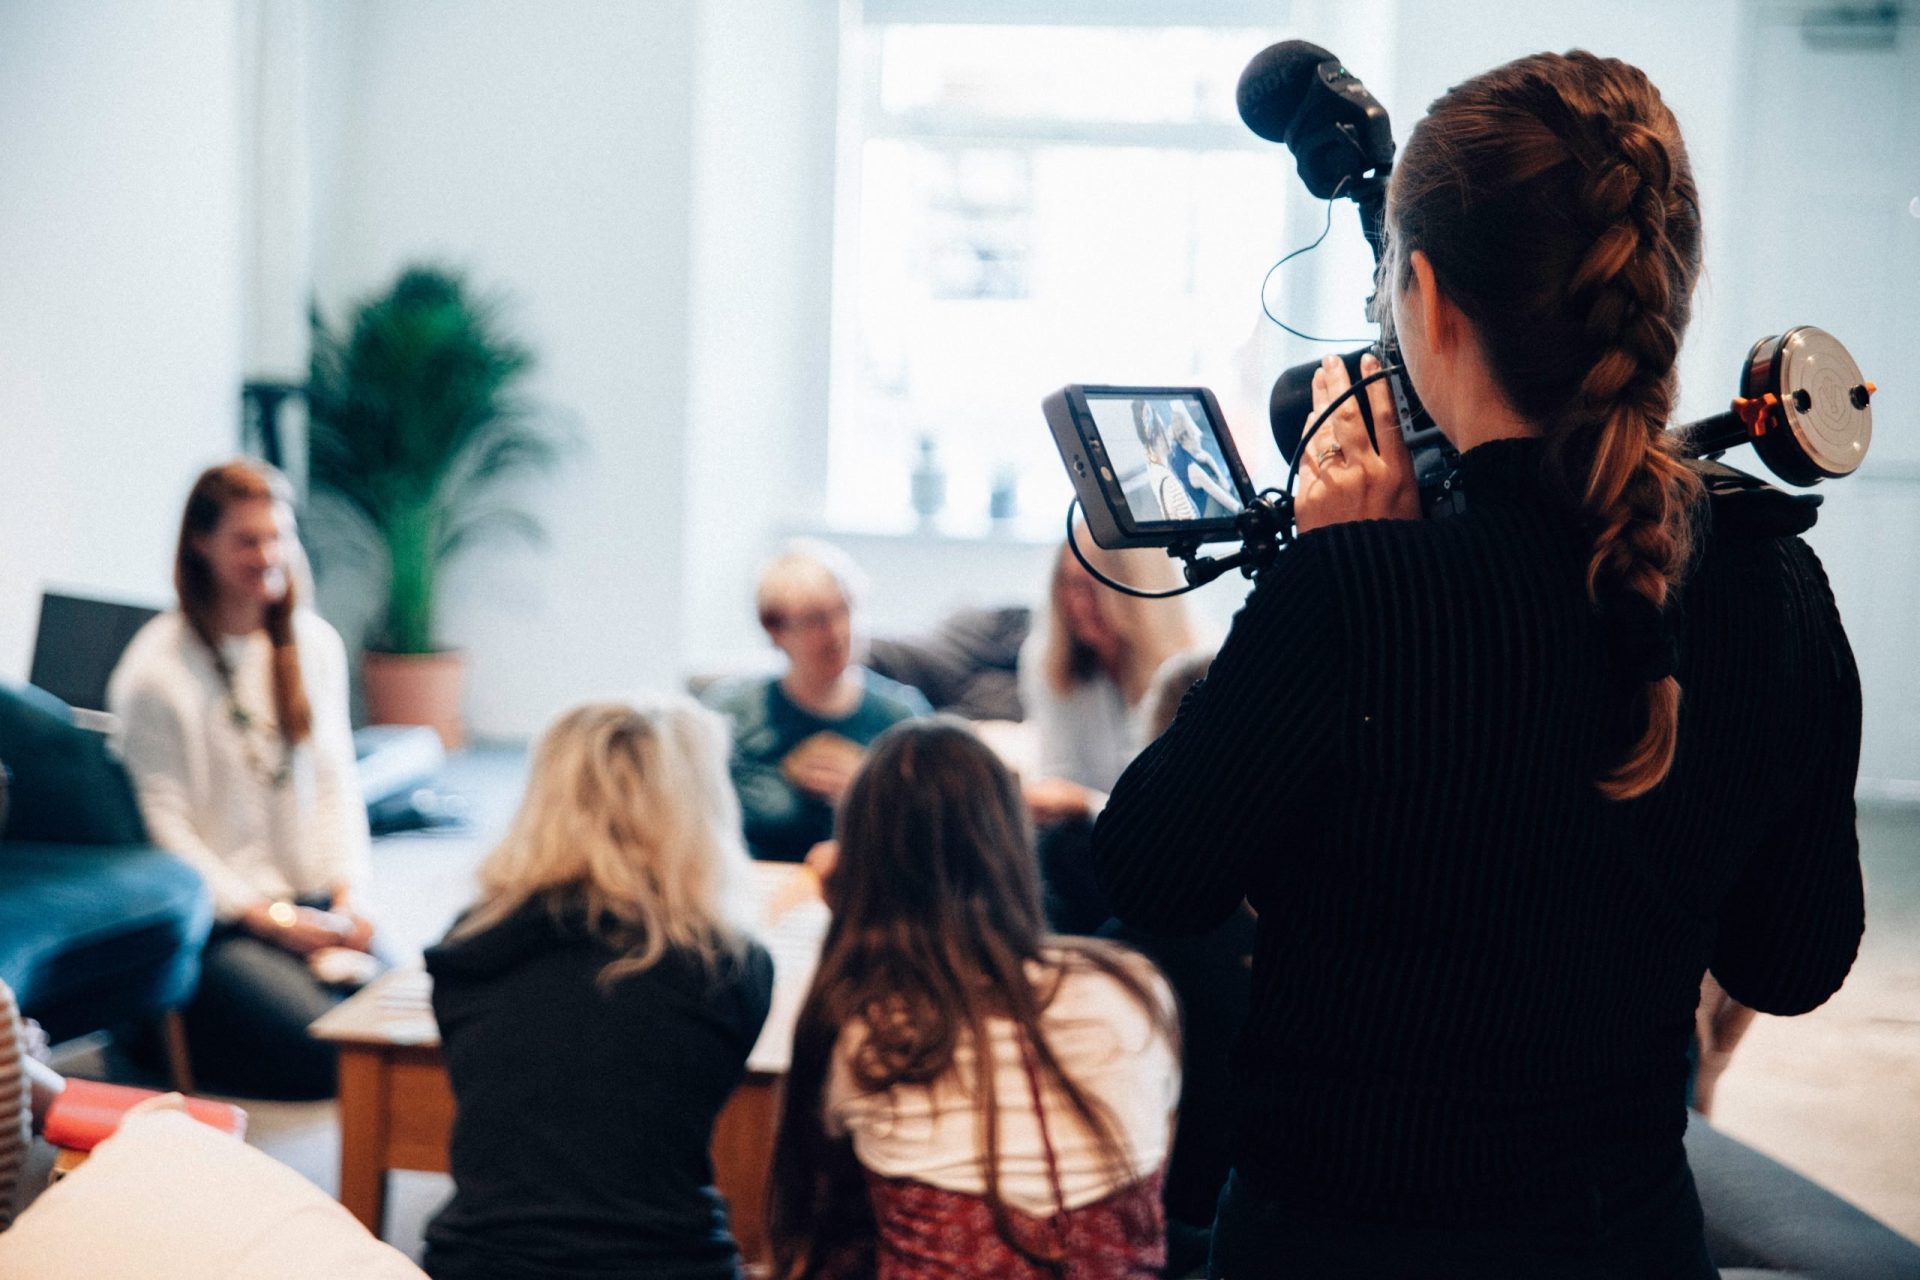
Whether you are recording a project activity or an interview, using a mix of images engages your audience and keeps your video interesting.
Many professionals split their footage into A-roll and B-roll:
- A-roll is the scene you want your video to capture – for example, footage of your activity or your interviewee.
- B-roll is extra footage used to break up A-roll footage. It adds depth and context, for example, an event or activity mentioned in the video or scenic shots of the area being discussed.
Top Tip! Evenly divide your time between recording interviews and capturing B-roll. It is important to have a good amount of both types of footage.
Putting your subjects in the picture
Framing is the way you capture and present the subjects and objects within your image. Here are some example scenarios to help you identify which shot to use:
Long shot

A long shot is great for capturing moments from activities, or busy events. A long shot helps to reveal the scale of an event and establishes the context.
Medium shot
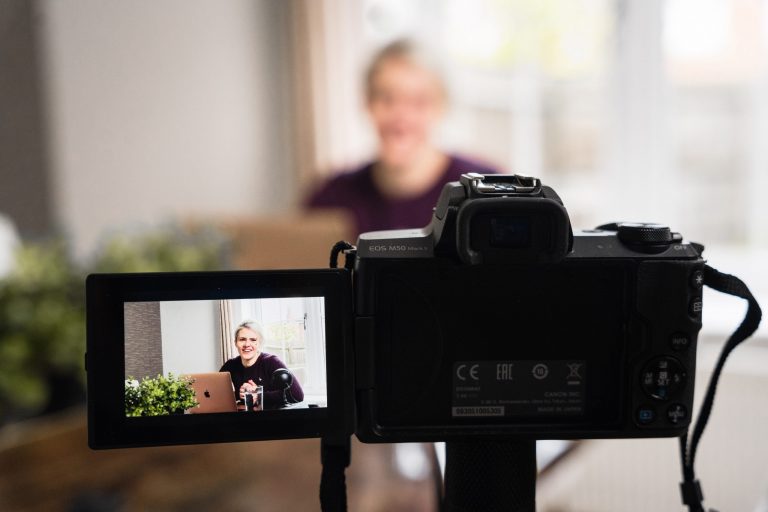
This is a practical shot and is often used in interviews because it displays a good balance between the person, their body language and the setting.
Medium close-up shot
The medium close-up shot fills the screen with an object or the subject’s head or face. This is a good choice for participant interviews and can be combined with a medium shot as B-roll to help vary the footage.
Close-up shot
A close-up shot is a good choice when filming a participant who is sharing a personal story. It helps establish a connection with the audience and better captures emotive expressions. Close-ups can also be used to show details of an object related to the activities.
Two shot

This helps to establish a relationship between subjects. It could show the interviewer and interviewee or two interviewees facing the camera.
Rule of thirds
The rule of thirds is a useful composition technique. It can create more tension, energy and dynamism.
Break your image into thirds, using two horizontal and two vertical lines. Most video devices have the option to show this grid on your screens.
The four intersection points of the grid created by your lines are the most important areas of the screen. You should place the main subjects of your image here.
Top Tip! Keep the shot stable. Avoid zooms or panning the image.
Try out more advanced techniques
Once you are comfortable filming, you can get more creative in presenting your footage. The examples below are quick, easy to use, as well as very visually effective.
Incorporate a time-lapse video
A time-lapse is a visually appealing and fun way to capture an event or story. This technique can document key milestones and bring your project to life whilst requiring little time and concentration from the viewer.
Activities such as setting up for an event work well as a time-lapse video, allowing viewers to get a sense of what it was like to be there.
You can use the time-lapse setting on your phone, or you can record a normal video which you can speed up when editing the footage.
Top Tip! The best time-lapses capture the contrast between moving and still objects. Keep your device still when filming by using a tripod or placing it on a table.
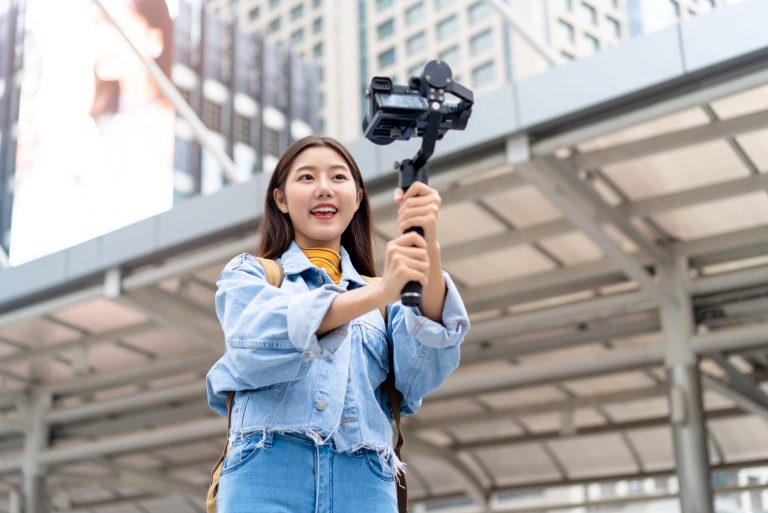
Capture personal experiences with a selfie video
Another easy way to diversify your footage is filming in selfie mode. All you need is a mobile phone with a front-facing camera. There are two styles:
- Talking head: This gets your participants involved by sharing their personal experiences; and
- Follow me around: This is used for capturing a new place visited as part of a mobility.
It is worth remembering that many people take selfie videos in a portrait style. This will look unusual if combined with content shot in the standard 16:9 landscape ratio.
Slideshow
If you didn’t have time to film scenes or participants in your project, you can still create an engaging slideshow using the pictures taken during your project activities.
Prepare for the unexpected
Finally, factor in and be prepared for encountering some errors when filming. It is always a good idea to have a plan B in case anything unexpected happens.
If something goes wrong, don’t worry. Videos can always be edited. Don’t be afraid to stop filming, or even re-record questions if necessary.
Now that you have got your footage, it’s time to get editing! Read our next blog post in the series for advice on editing your video.