
With the dominance of the smartphone in today’s modern society, making your own videos has never been easier. Not only do videos allow you to share your project in action, but you can also showcase testimonies from your staff and participants. All this video work can contribute towards your dissemination and reporting activities.
If you are new to video making, it can feel a little daunting. However, we’ve put together a Turing Scheme video guide to walk you through the process and to help you kick-start your filming journey so you can start sharing your project’s highlights!
In the first part of our video guide series, we’re looking at what you need to do before you start filming, particularly, the importance of defining your video’s aims and how to plan and prepare your set-up.
Identifying the aims of your video
In a Turing Scheme project, you need to plan your aims and activities. This is the same for videos – thinking about the purpose of your video and mapping out the content is an important initial step.
You need to consider the aims of your video – are you looking to inform people about your project and inspire them to take part? If you’re targeting potential participants, you need to think about what motivates someone to get involved in your project and what their interests are. Potential partner organisations will want to know what benefits there are from partnering with your organisation.
When it comes to the content and tone – do you want to focus on the big numbers, or the people behind the story? Thinking about who you want to watch the video and the call-to-action you want them to take will help you to make these decisions. Also, creating a storyboard will help you to visualise how you want the story to unfold on screen.
With your video aims defined, you can move onto to the rest of your preparation including filming equipment, key roles and obtaining consent from anyone featured in the video.
Let’s take a closer look, starting with essential equipment.
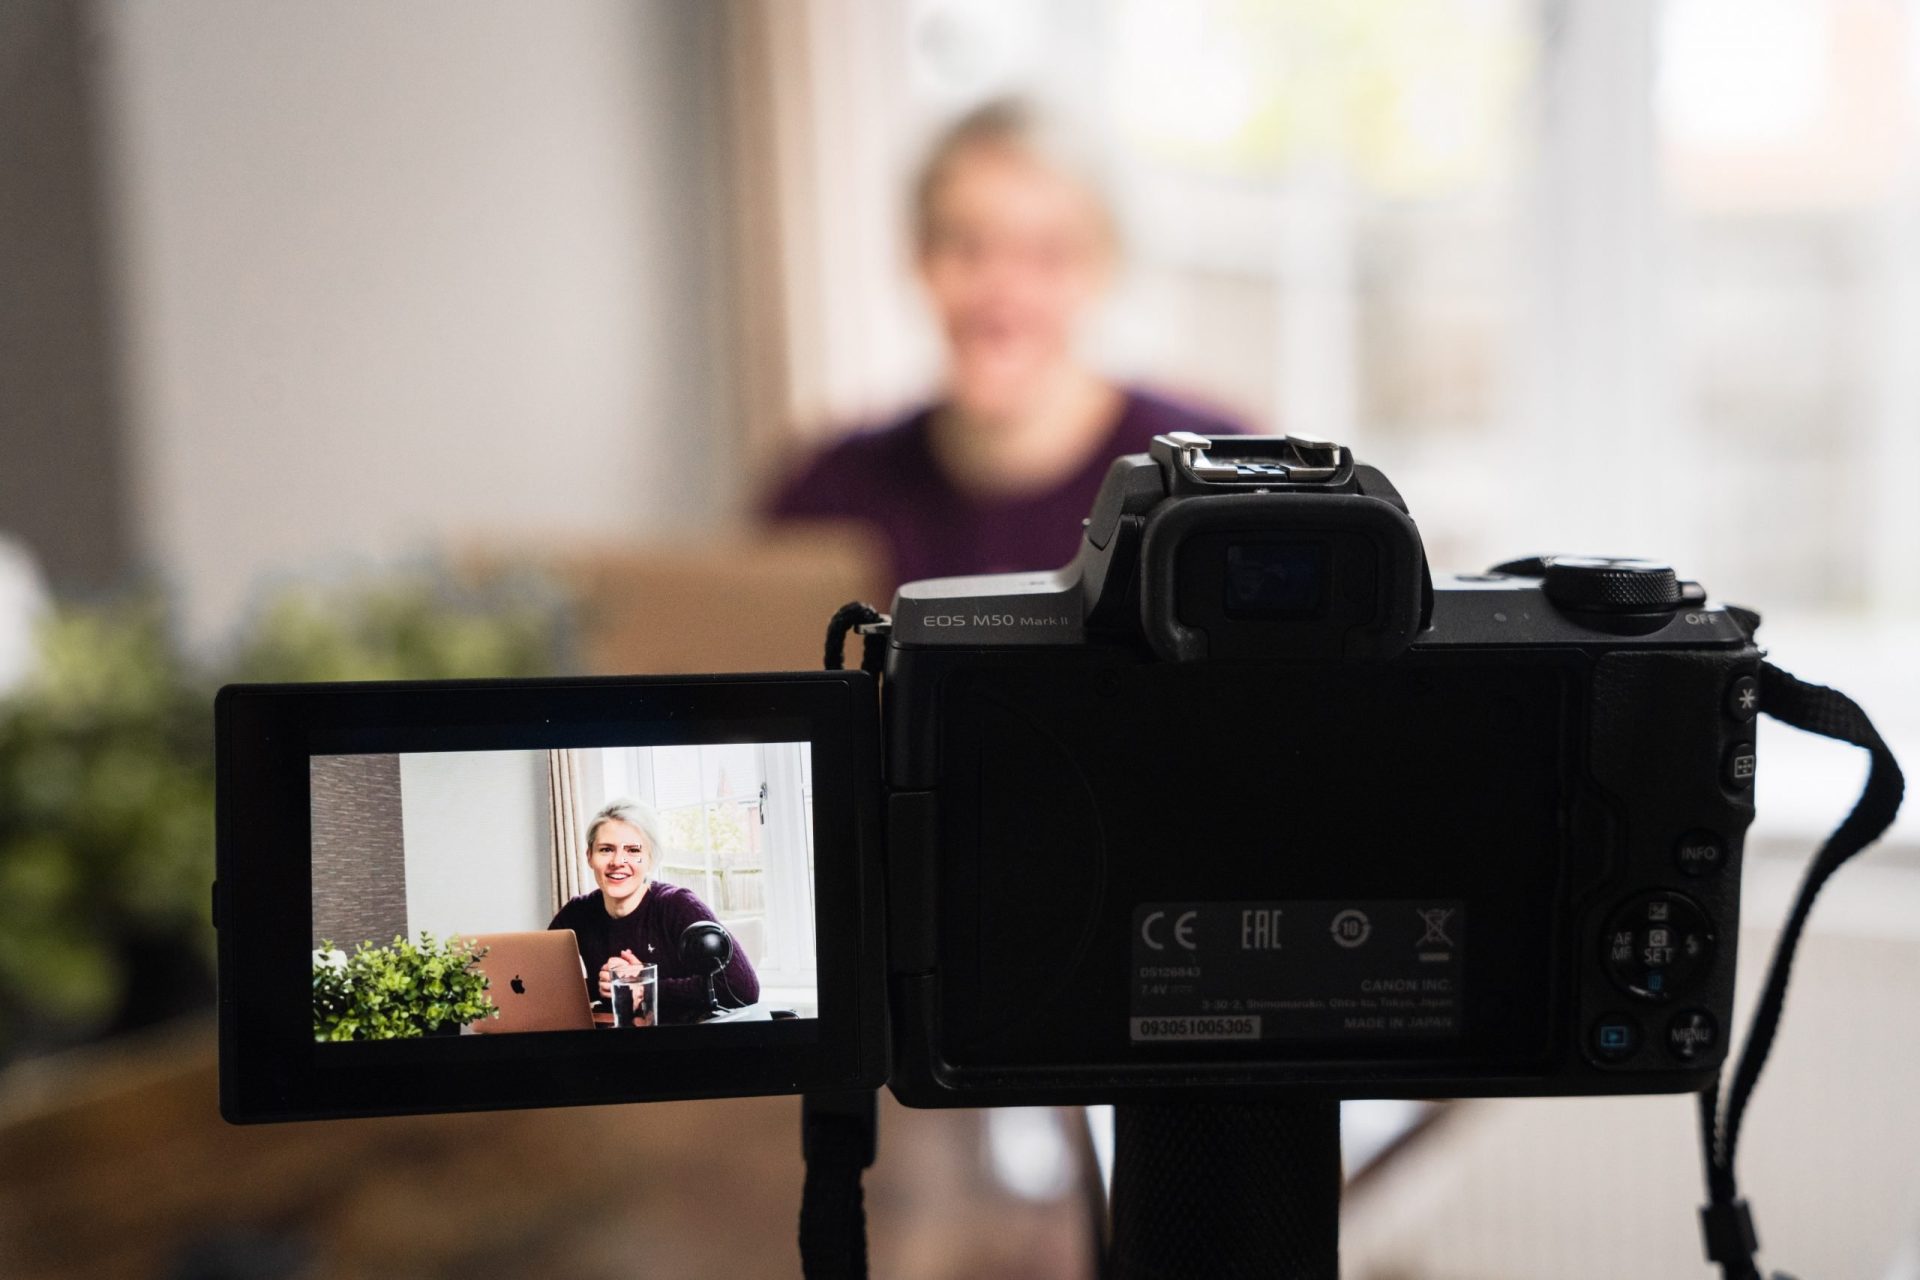
Choosing the right filming equipment
Camera
Even though a camera is the obvious choice, in this day and age, you don’t always need professional equipment so don’t shy away from filming with whatever you have available. Using a mobile device may even be a better alternative as they are portable and could help to put your interviewees more at ease.
Microphone
In-built phone, tablet or camera microphones may be good enough, so be sure to take the time to test them first. Alternatively, think what would suit your video best. A handheld mic would work better for interviews, while a lapel or shotgun mic works best for one-person testimonies.
Tripod
If you have one available, a tripod keeps your camera stable and is particularly important when filming longer videos. If you are filming with a mobile phone or tablet, adapters are available to allow you to fit the device onto your tripod. A good tripod is lightweight, portable and sturdy.
Lighting
Additional lighting equipment is worth bearing in mind if you are in a poorly-lit area or if you want to give your videos more of a professional flair. Making use of a ring light or softbox could help to brighten the scene. Ideally, your light source (whether artificial or natural) should not be behind or to the side of the person being filmed as this will cast shadows.
Assigning key roles
We’ve put together a list of the important roles to consider during your planning, see who in your organisation may be a good fit:
Director
The director considers seating, lighting, noise and background, as well as composition and content. You might want to ensure the room is at a good temperature to put speakers at ease. It is often useful to have a trial-run in your filming location.
Techincal support
The technical support checks all the equipment is set up correctly, set aside some time in advance to lay out the room how you want it to look on the day. Consider the pros and cons of that location and make any necessary adjustments. On the day, you should make sure you are happy with the composition, ensuring everyone is in the shot and in focus.
Top Tip! Take some pictures of your mock-up, and the location in general, as you can use the photos as a reference point on the day.
Interviewer
The interviewer should prepare questions for the interviewee. It is a good idea to do some research around the topic and refer back to the video’s aims when compiling questions. Both the interviewer and interviewee should have prior communication to establish how the interview will run.
Top Tip! Brief the interviewee on what questions to expect and encourage them to send over their potential answers to you. Double-check any facts or statistics they plan to mention.
Video editor
The video editor needs to decide which editing programme to use, what the final product should look like and select the best footage to be included. Easy and free-to-use editing programmes include iMovie (for mac), Movie Maker (for Windows) and Adobe Spark.
Moderator
For live videos, the moderator should monitor, review and reply to comments on the social media platform.
Obtaining consent
With your equipment and roles ready, there is another important factor to consider before filming – getting consent.
Always brief the participants in your video about the overall aims, the filming plan and where and how you will be promoting the video. Whilst you can obtain consent in an email, or verbally, we recommend you obtain consent via a disclaimer form.
Download this draft video consent form (284 KB) we have created – ensure you tailor the form to meet your organisation’s needs.

For more information on the General Data Protection Regulation and data protection, please visit the UK Government’s website.
Top tips for the filming day
When the filming day arrives, there are a few things to double-check before you press the record button. Here are some of our final top tips:
- Check that batteries are fully charged on your devices – we recommend charging the day before.
- Double-check your background is set-up to your preference. Remove anything you wouldn’t want to be shown, e.g. irrelevant logos.
- Test your audio and lighting equipment.
- Ensure you have the correct dimensions displayed on your device.
- If your interviewee is feeling nervous, ease them into the interview and do more than one take.
- Have a glass of water ready for both the interviewer and interviewee.
- Give yourself plenty of time for the set-up and any testing.
Now your set-up is ready to go, read our second blog post on video making, which explains what happens when you press the record button.